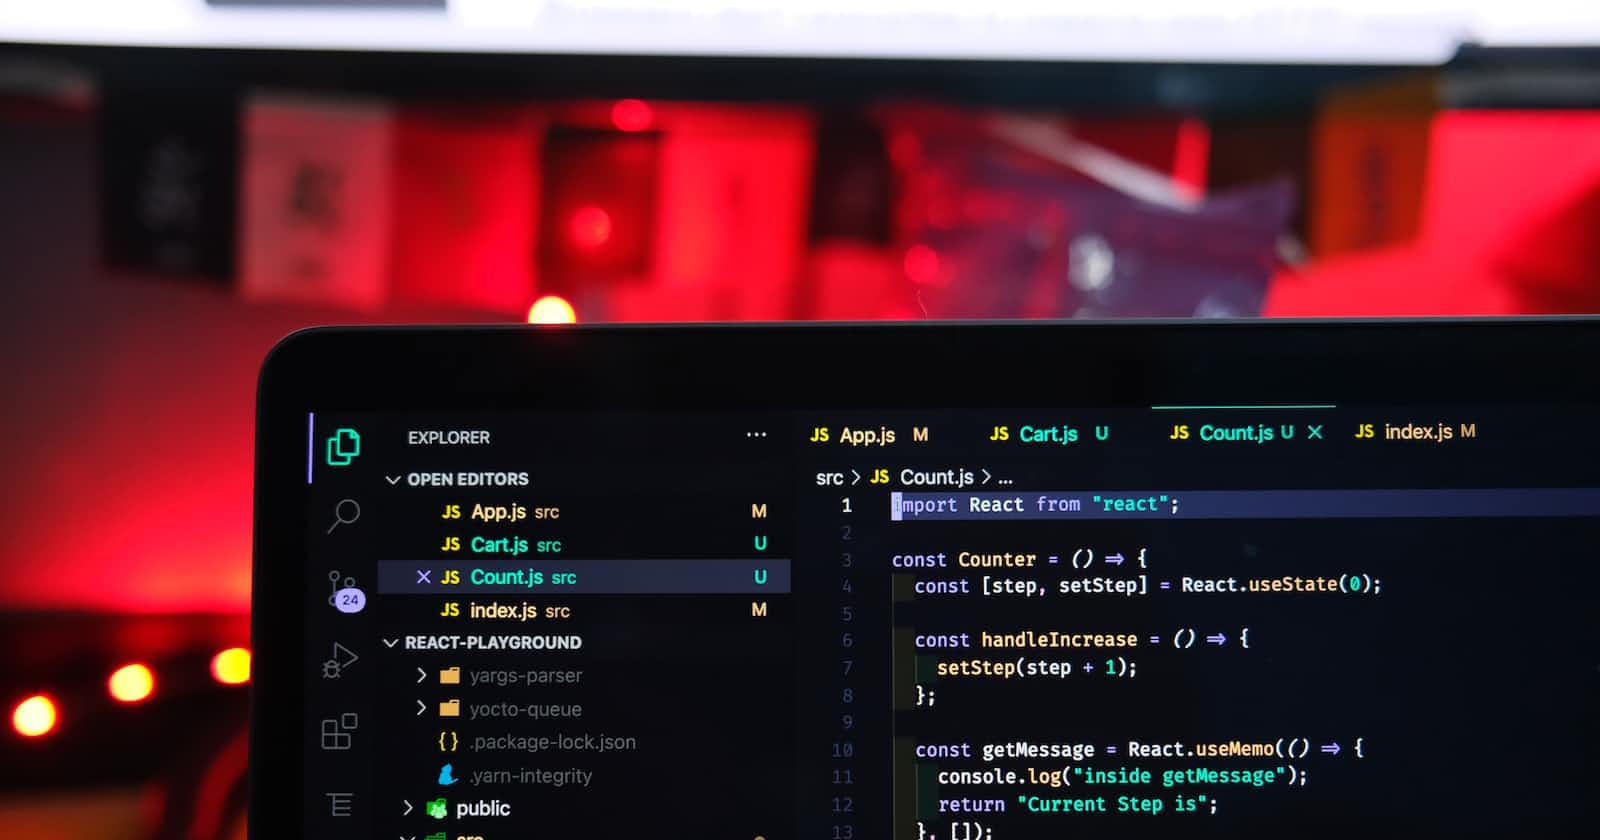
Photo by Rahul Mishra on Unsplash
Setting up your ReactJS project.
Step by step guide to set up ReactJS project.
By the way, there are multiple ways of writing code in react
By importing specific react scripts, but becomes more complex as our project becomes more complex.
Using a package manager may be Node or Yarn.
The second method is better as we can set up our project using 2 - 3 commands, it will not just take care of react libraries but also manage third-party libraries.
So, let's explore the second method,
Requirements:-
Steps:-
After installing your package manager, write the following command on your terminal.
 npm install create-react-app -g
 or
 yarn global add create-react-app
Now go to the directory where you want to put your project and run this command in the terminal.
create-react-app <project_name> --scripts-version 1.1.5
- You must be thinking why we included --scripts-version 1.1.5, it is because to maintain the directory structure we use this specific version otherwise it would be the latest version of react.
Now go inside your project using the cd command.
cd <project_name>Run the following command in your terminal
 npm build
 or
 yarn build
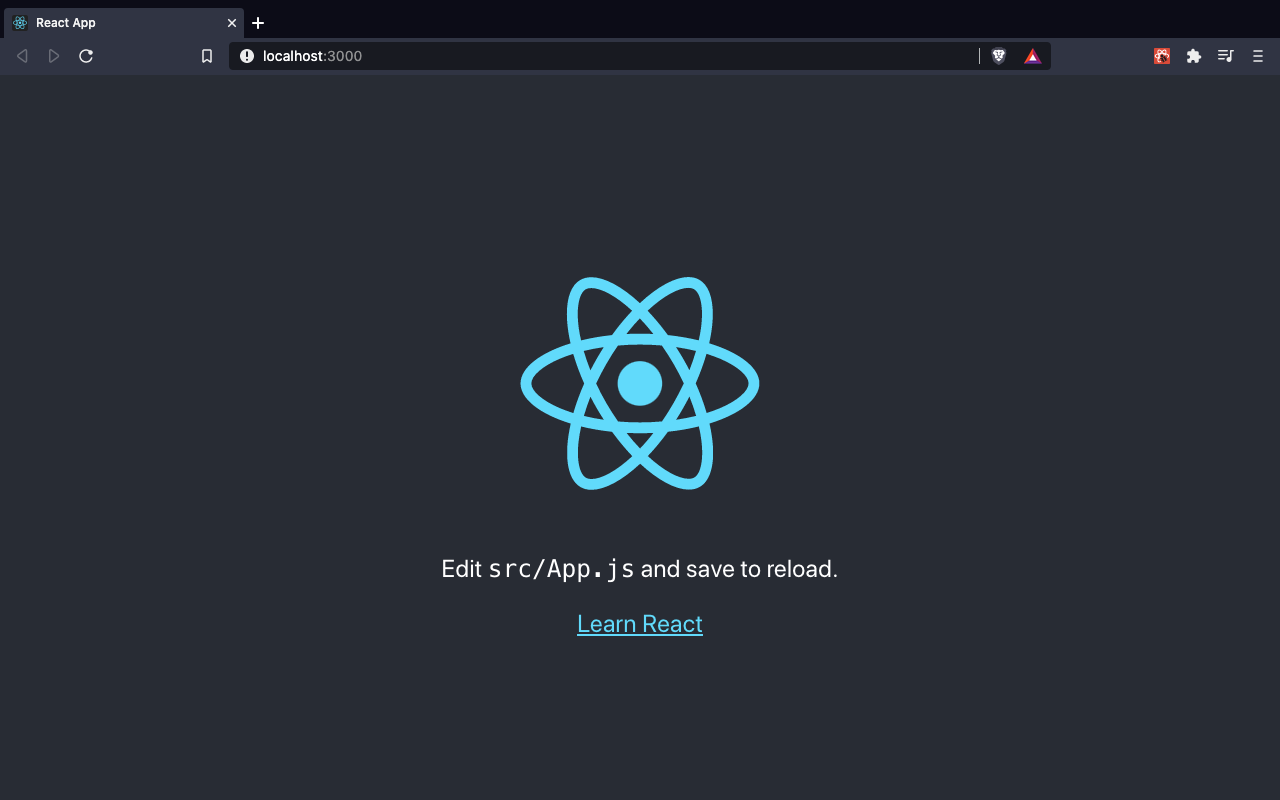
a tab will be open and you will see the following web page if not opened put the following link on your browser
http://localhost:3000/

Now you must be wondering where that react logo and other content came from, well it came from, <project_name>/src/App.js

Now whatever code you want to write, write it in the App.js file.
So, this is how we set up our project in the next blog we will write some code
We will create our first component.
We will see state and stateless components.
How react renders code.
Till then Good bye and Thank You !!
Please share and hit a like if you like it.
